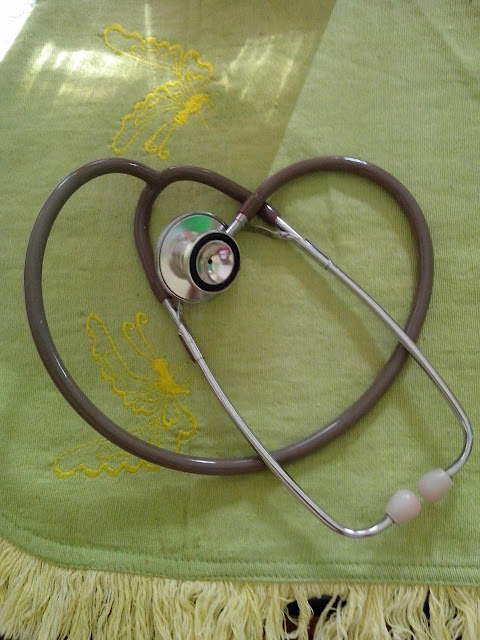
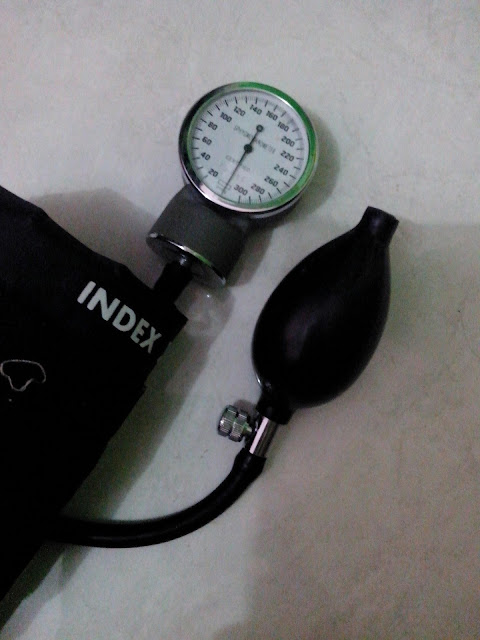
A stethoscope is a medical device for listening to sounds inside the body. The initial stethoscope was invented in the early 19th century by French physician Ren� Laennec, but was actually trying to achieve a rather different end: doctor-patient distance....
Sunday, June 22, 2014
Selection of Phlebotomy Venipuncture Site
Friday, June 20, 2014
Take a look at the build up to the game from the inside
| |||||||||||||||||||||||||||||||||||||||||||||||||||||||||||||||||||||||||||||||||||||||||||||||||||||||||||||||||||||||||||||||||||||||||||||||||||||||||||||||||||||||||||||||||||||||||||||||||||||||||||||||||||||||||||||||||||||||||||||
Correcting Urinary Incontinence With Bladder Retraining
-
Be sure to locate the patient's bed near a bathroom or portable toilet. Leave a light on at night. If the patient needs assistance getting out of bed or a chair, promptly answer the call for help.
-
Teach the patient measures to prevent urinary tract infections, such as adequate fluid intake (at least 2,000 ml/day unless contraindicated), drinking cranberry juice to help acidify urine, wearing cotton underpants, and bathing with nonirritating soaps. If the patient has urge incontinence, cranberry juice is contraindicated.
-
Encourage the patient to empty his bladder completely before and after meals and at bedtime.
-
Advise him to urinate whenever the urge arises and never to ignore it.
-
Instruct the patient to take prescribed diuretics upon rising in the morning.
-
Advise him to limit the use of sleeping aids, sedatives, and alcohol; they decrease the urge to urinate and can increase incontinence, especially at night.
-
If the patient is overweight, encourage weight loss.
-
Suggest exercises to strengthen pelvic muscles.
-
Instruct the patient to increase dietary fiber to decrease constipation and incontinence.
-
Monitor the patient for signs of anxiety and depression.
-
Reassure the patient that periodic incontinent episodes don't mean that the program has failed. Encourage persistence, tolerance, and a positive attitude.
Wednesday, June 18, 2014
Phlebotomy Venipuncture Procedure : Guidelines to Prioritizing Draws
Specimen Priority:
“The urgency that the healthcare provider wants the specimen collected/run determines that order’s priority. We have three specimen priorities:
A. STAT (S) – this priority means that the order is to be collected and run right away, without delay. This status is used most often in emergency situations and should be the first specimens collected.
B. URG (U) – this is the urgent specimen priority and it is to be collected as soon as possible but not before a STAT. Urgent specimens are the middle priority, meaning they are important to be done quickly but not absolutely critical (i.e. STAT)
C. ROUTINE (R) – this is the lowest specimen priority. Routine specimens should be collected when you can but not before a STAT or URG.
- The last thing to understand about specimen priority is the concept of Timed Orders. Any one of the above three priorities may be ordered for a specific time of the day to be collected (i.e. URG for 2000 or ROUTINE for 2359). These are called TIMED ORDERS. When a specimen is requested for a specific time then the priority is superceded and the specimen should be collected at the requested time. All STAT and URG specimens (regardless of what time they are ordered for) go into their respective Collection Category (STAT or URG, see above). If a specimen is ordered as a ROUTINE priority for a specific time, it will go into that specific Collection Category time (i.e. 0830 or 1600). If a
specimen is ROUTINE priority and DOES NOT have a specific time requested it will go into the POOL Collection Category. Any specimens in the POOL Collection Category are of the lowest urgency, to be collected whenever you have time.”
NOTE: STATS and TIMED ORDERS are to be collected within a 15 minute window (15 minutes before
or after the ordered time). It is encouraged that these specimens are received in the laboratory within 15
minutes of being drawn.
Wednesday, June 11, 2014
Phlebotomy Venipuncture Procedure : Assembly of Supplies/ Safety
preassemble the vacutainer apparatus with a needle prior to use.
1. Vacutainer Eclipse
a. Holding both colored shields, twist and remove white shield (end to be screwed into holder).
b. Screw in holder.
c. Rotate safety shield back out of way.
2. Syringe Draw
a. Open Hypodermic Needle package and remove device.
b. Attach appropriate Hypodermic Needle to syringe by twisting the needle onto the syringe.
c. When transferring the specimen to a vacutainer tube, no associate is to handle a tube at any time
with their hand while inserting the transfer needle into the vacutainer. This includes stabilizing a
tube with one’s hand, in the phlebotomy tray, while inserting the needle. The hand that is not
holding the syringe is not to aid in specimen transfer. The associate may only use their hand to
remove the vacutainer tube from the transfer needle, while pulling the vacutainer tube away from
the transfer needle and either immediately placing the needle in another tube located on the
phlebotomy tray, or immediately activating the safety shield for discard, if the specimen transfer is
complete. If the specimen cannot be successfully transferred without the need for an associate to
use their “free” hand to hold or stabilize a vacutainer tube, then a transfer hub is to be utilized.
3. Butterfly “Push Button” with a SYRINGE
a. Open Butterfly Push Button package and remove device.
b. Remove luer cap and attach syringe
3
c. Remove the clear plastic needle sheath.
4. Butterfly “Push Button” with a VACUTAINER
a. Screw multiple adaptor into vacutainer.
b. Open Butterfly Push Button package and remove device.
c. Remove colored end of multiple sample adaptor and remove luer cap to attach butterfly.
d. Remove the clear plastic needle sheath.
Tuesday, June 10, 2014
World Cup 2014
| ||||||||||||||||||||||||||||||||||||||||||||||||||||||||||||||||||||||


